Notes on Repairing the Gaggia Classic
Mine is a 2002 model, thus some information might not be valid for your machine. Note, that Gaggia changed things between the models and some parts are different or even missing on some machines!
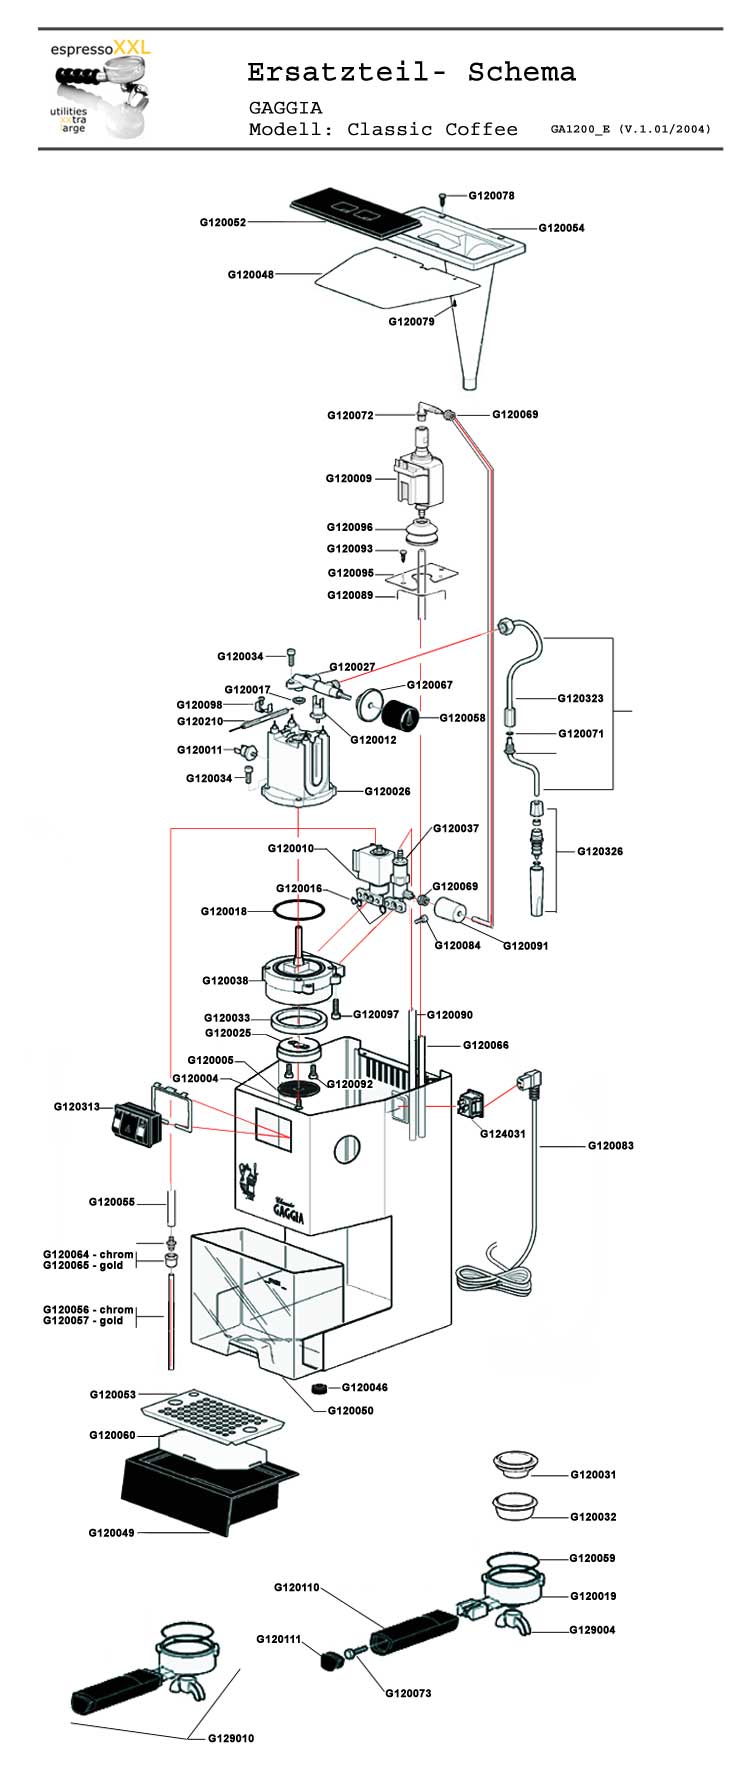
Explosion drawing from espresso-xxl.de
Rust / scale / ...
I had to replace all four screws holding the boiler, because they rusted. It looks like that water has crept through the boiler o-ring. I had to replace that as well.
My boiler was descaled using "Durgol". As I opened the boiler for the first time, the scale level was not too alarming. It looks like the Viennese water is actually quite good - as the scale level was not as high as on pictures I saw on the internet.
Descaling
As the boiler is made out of aluminium, you should only use appropriate substances. Vinegar or citric acid are not good! One alternative is tartaric acid or any descaling product which states it can be used for aluminium.
Screws
Most screws are V2 stainless steel. The only one which are not stainless are the pump assemply screws and the cupwarmer plate.
- Boiler (Upper to lower part): DIN EN ISO 4762 M6x16 4x
- Magnetic Valve and Overpressurevalve: DIN EN ISO 4762 M5x12 both 2x
- Boiler to case: DIN EN ISO 4762 M5x12 4x
- pump assembly: DIN 7981 3,5x9,5Z 2x
- cupwarmer / water inlet: DIN 7981 2,2x9,5mm 2x
- shower: DIN EN ISO 7046 M5x8 1x
- shower plate: DIN EN ISO 4762 M6x14 (M6x12) 2x
Tubing
- Both water tubes from tank to pump and OPV are Silicon tubing ID 5mm, OD 8mm, 60 Shore (some list 6x10mm, However mine is 5x8mm)
- Tube from magnetic valve is the same but black (some shops list the same tubing for all three connections)
- pressure tube PTFE ID 4mm, OD 6mm But has specially formed ends!
Threads on fittings
All threads on the fittings are BSPP (DIN 259). Note: they can easily be confused with BSW! See here for more information: Withworth Rohrgewinde (DIN 259)
- Pump: G1/8"
- Portafilter G3/8" (for example to add a manometer)
- Rancilio steam wand M6x0.75 (that is metric, not BSPP ;)
Over pressure valve (OPV)
- Hose spout: 17mm Hex
- Screw: 5mm Inbus, there are rumours that some machines use 3/16" - however I think that is due to limestone. Put the whole OPV into descaler and check afterwards.
- Spring: d=1.4mm, L=17.3mm, D=10.4, n=5, probably stainless steel
You can actually disassemble the OPV completely, and I would recommend doing so if it is used for a long time. Limestone builds up on the inside and it gets hard to turn.
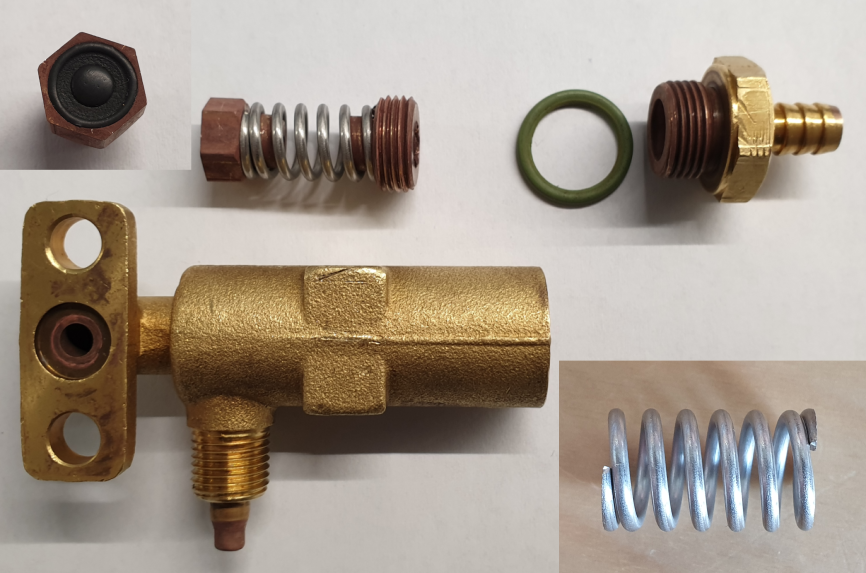
One turn compresses the spring by 1mm (it is a 1mm fine thread). This corresponds to about 2 to 2.5 bar per turn. I found out, that I had to screw the spring about 3.5mm in to get to a static pressure of ~10bar (which corresponds to ~9bar during percolation).
Electric
All plugs are 6.35 x 0.8mm. They are usually sold in every electronics or hardware store.
The cables are not labeled but feel like silicon cable, which should withstand up to 250°C.
The color coding on the cables seems to vary between machines and years. I have labeled all my cables with numbers and took photos, which helps a lot!
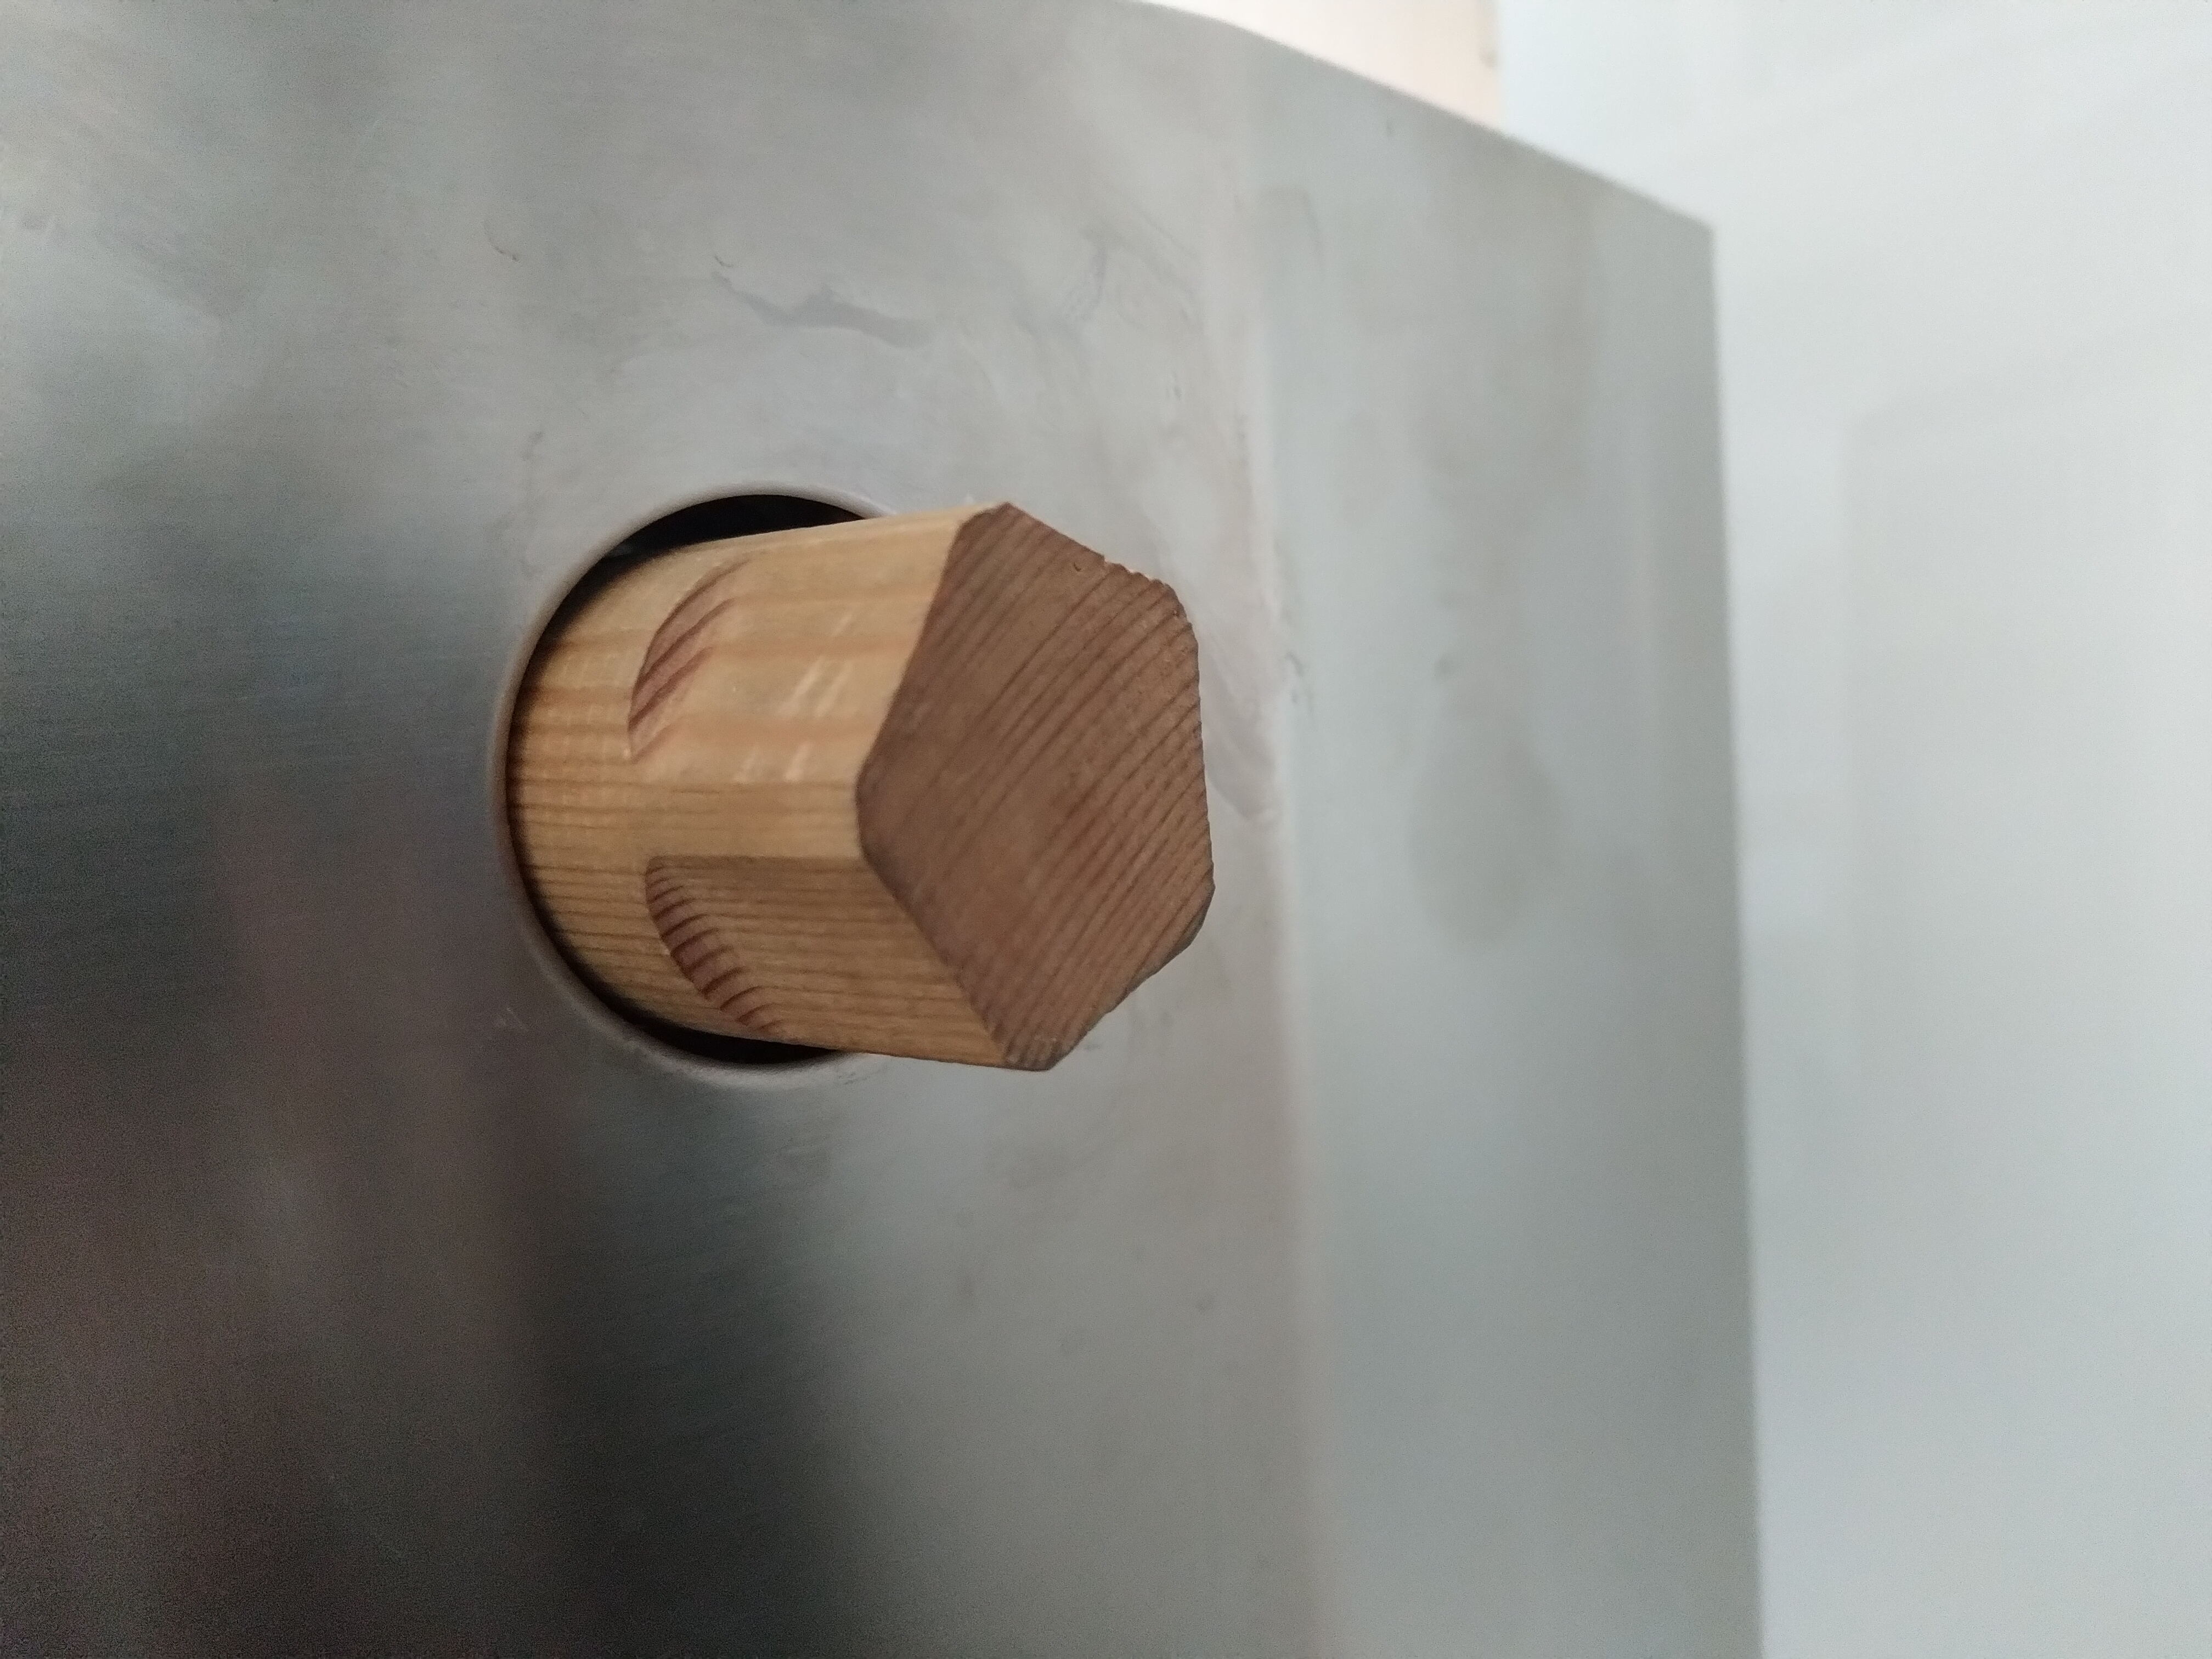
Steam Knob
It looks like this is a very weak part on the machine. Mine broke some years ago and a replacement costs some euros. But why not create a custom one?
First I though, that 3D printing might be a thing. Here is the OpenSCAD model: OpenSCAD Modell
But I found out that PLA is not very good, as it starts to get soft when the machine is turned on, as the spindle of the steam valve transmits all the heat to the knob.
So the next iteration was made from wood. Here is a video from the milling process using the CNC machine in the metalab:
The G-Code (which I wrote by hand, because I used this as an example for a CNC workshop too) is available here:
- planning: plan_vorne.ngc
- outer conture: aussen.ngc
- mouting hole: bohrung.ngc
- Extra G-Code for two jaws: backe.ngc
- planning again: use plan_vorne.ngc again
- conture: griff.ngc
- conture with radius: same script edited a little bit
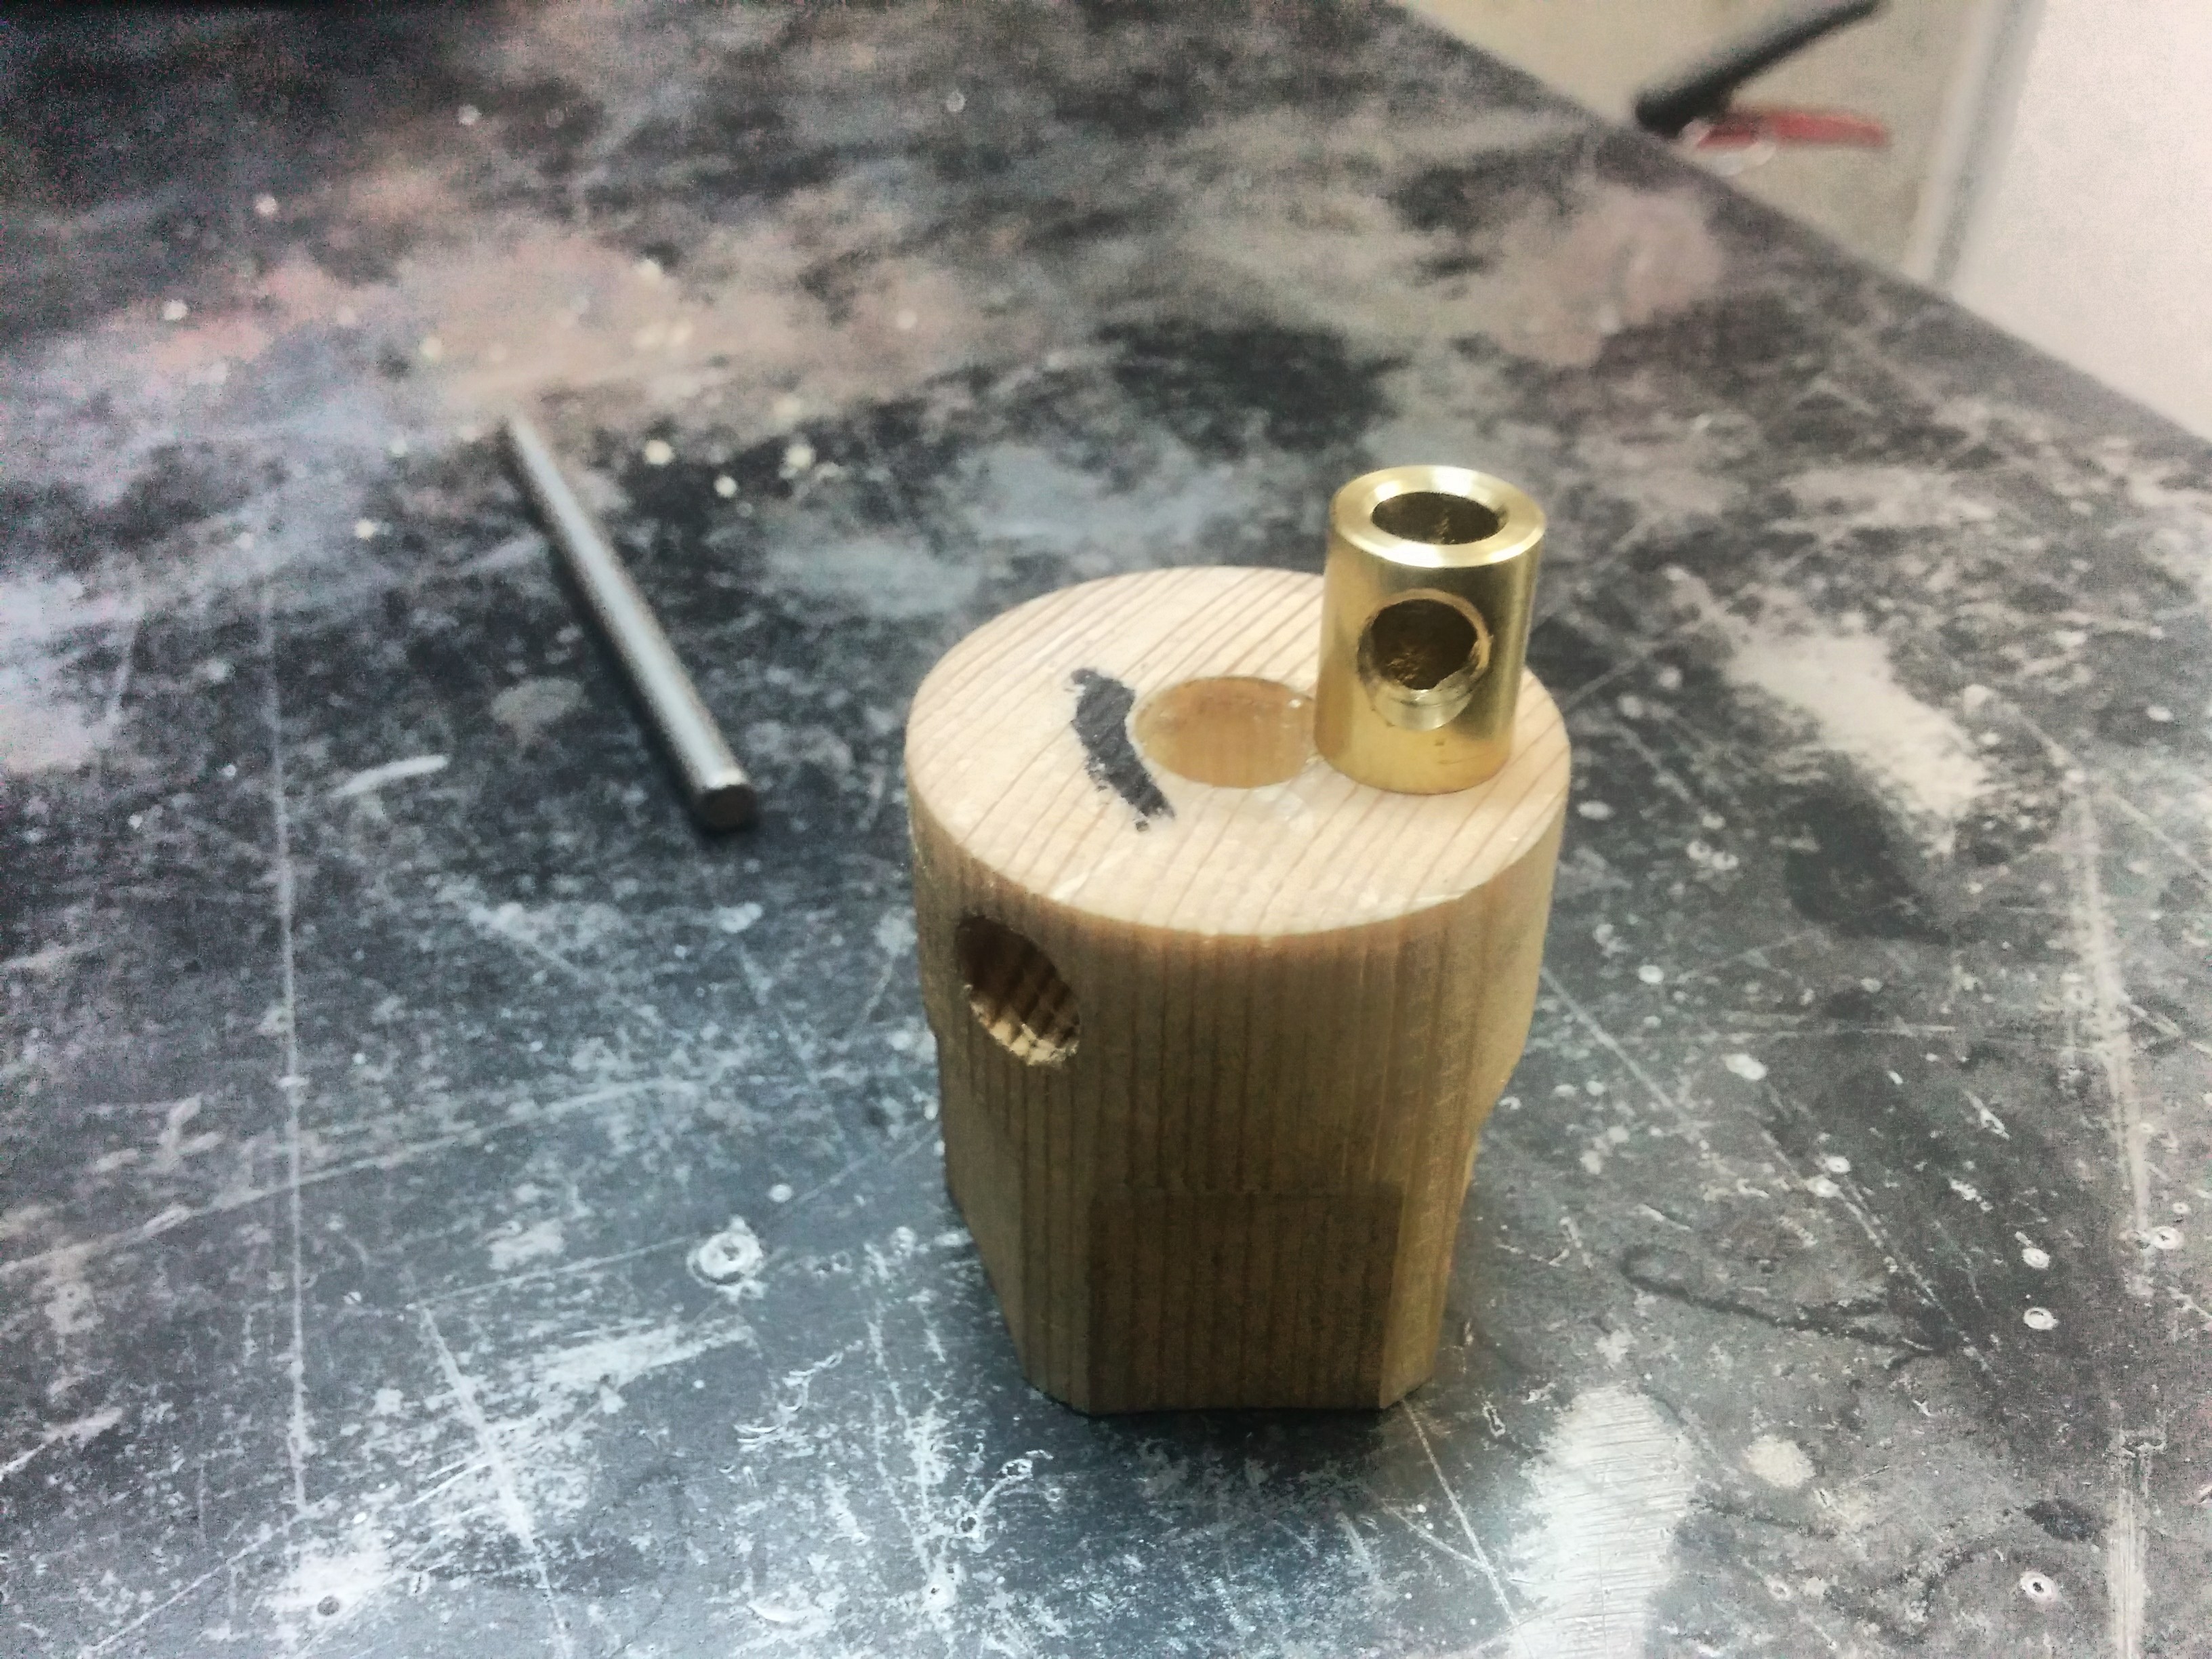
But this variant wasn't also very good, as the wood was soft (I used pine) and the mouting hole would start to get bigger and bigger with time.
Thus I made a small bushing out of brass, which works nicely!