Gaggia Hacking
At some point I researched ideas how to hack the Gaggia Classic beyond the point of PID and Rancilio steam wand. The Gaggia could have extra functions, like a paddle, pressure sensors, preinfusion, display, ... wifi?!
Here are already some examples of hacked Gaggia Classics and other interesting links:
- Project Coffee: Es(pi)resso Machine
- Espressuino – DIY PID, Bluetooth and Preheat Coil on Gaggia Classic
- Manual Preinfusion (German)
- Thermoblock dual boiler machine (German)
- Pre-heat boiler
- Gaggia Classic Temperature Study
Disclaimer: I take no responsiblity nor liability that any of this information is correct.
Bill of Material
- 6.3mm PCB tabs
- Solid State Relais 1A
- Solid State Relais 10A
- Atmega like microcontroller
- 5V 4.5W Power Supply
- 230V Optocoupler
- ...
Paddle
The first iteration will contain a "fake" paddle, where some range will be off-state, then a preinfusion range and then the full pump power.
A prototype made from plywood works great, and even looks good!
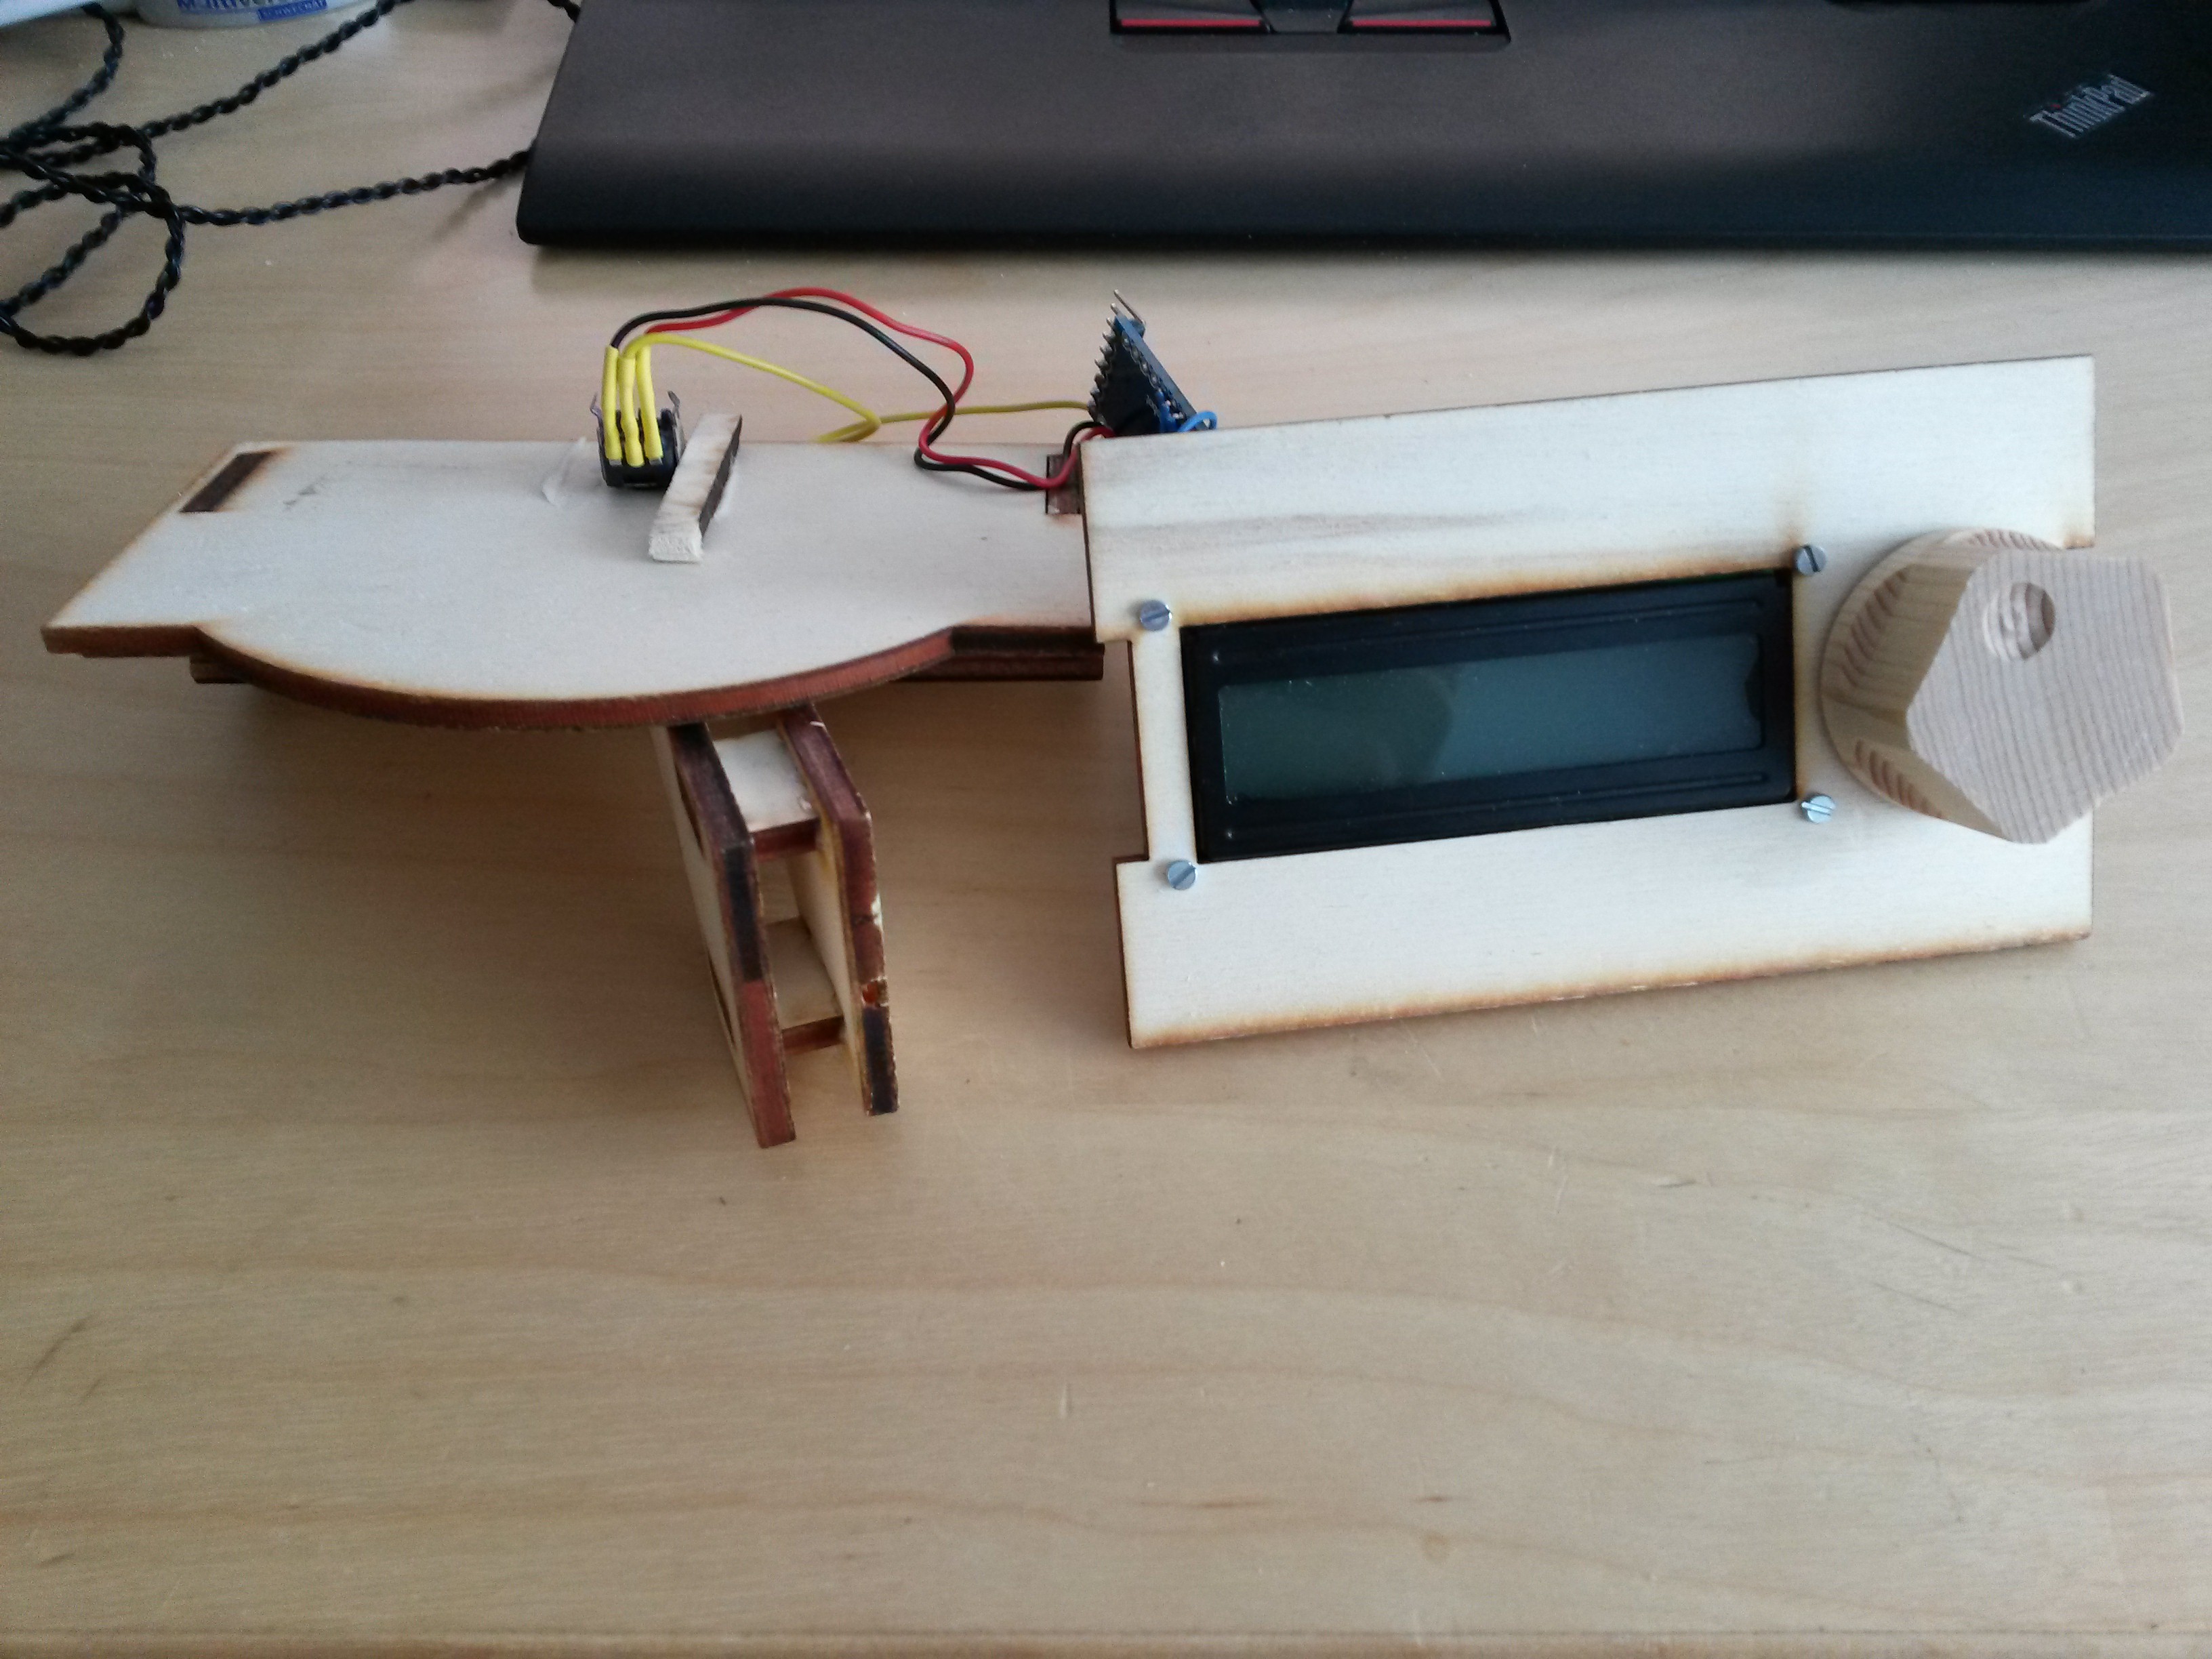
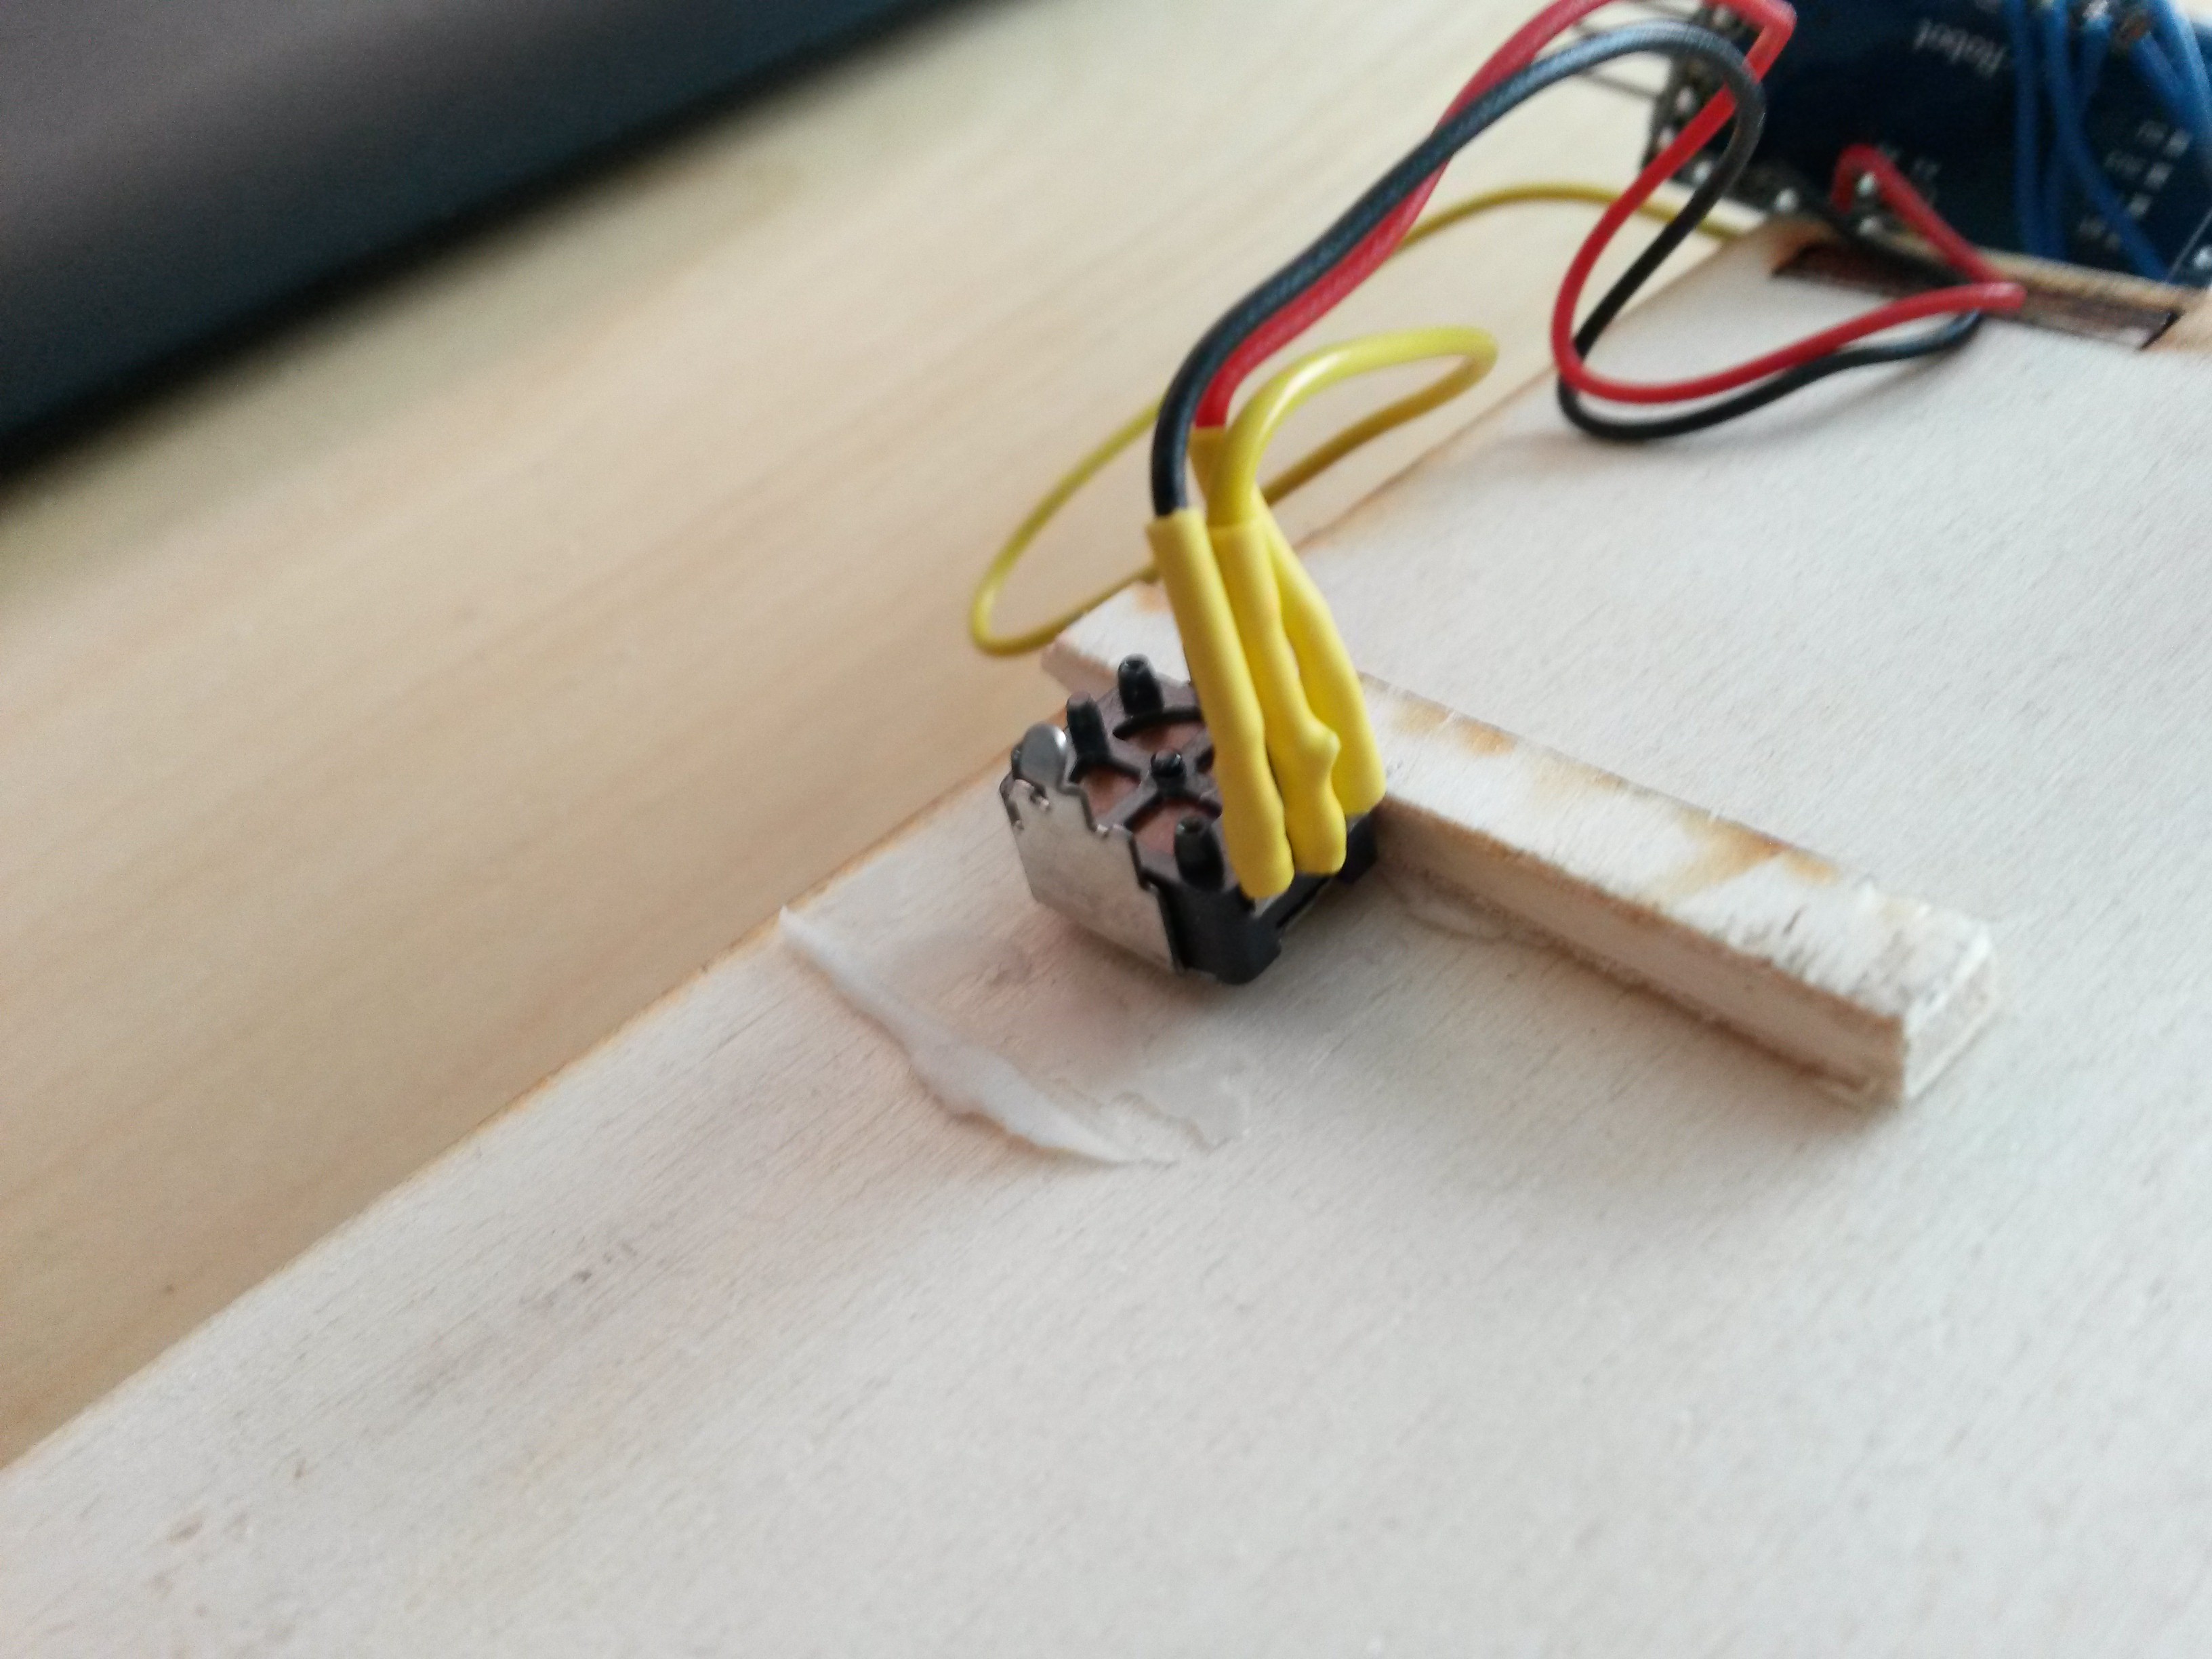
The paddle position is measured with a potentiometer and is also the axis of the paddle. If you take a look for example at the La Marzocco Strada paddles, you will see, that they use a wiper ring to measure the position. This seems to be a much better choise, because the potentiometer will probably break because of the high moment caused by the long lever arm.
Also this prototype was never got intro production, because I own a Auber PID now... I had some design with a proper bearing and also some spring loaded ball indentation marks but that even got never into prototyping.
For all that are interessted, here are the openscad files: GitHub: gaggia_paddle.
Preinfusion
One easy to implement preinfusion is to let the pump run for some seconds, then switch it off, but do not open the solenoid valve. We can do this by using two solid state relais, one for the pump and one for the valve. 1A should be sufficant here - the pump needs about 50W and the valve about 15VA.
The Auber PID takes another route and just fires the brewing for a few seconds, then stops and the runs the brewing just normal. I had a talk to their technicans about adding a second SSR to control the magnetic valve separately. They said that they had the same idea first but came to conclusion that it is not neccessary to have all this trouble. They told me, that the results are nearly the same.
Integration
Everything should be integrated in a way that it can be easily switched back to the default configuration. For this we will use 6.3mm pcb tabs and reproduce the back of the switch configuration.
Circuit
This Image from partsguru can come handy here:
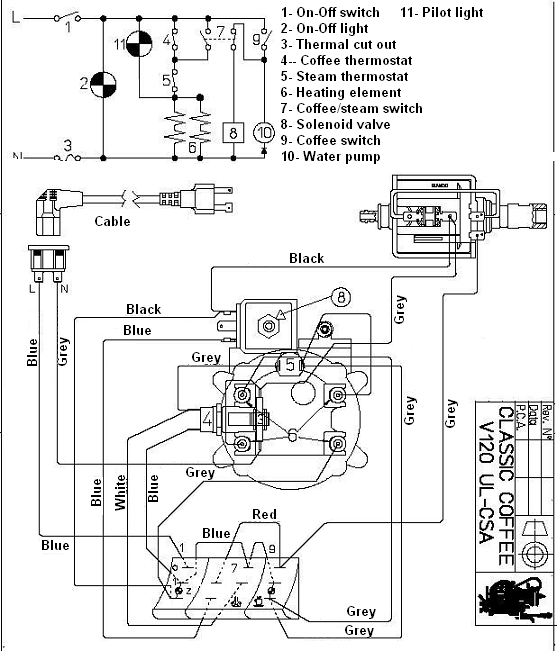
But beware: as I read, not every Gaggia Classic has the same color coding nor the same circuit. Some of them are different! Check other possible circuits before doing something wrong!
Switch Circuit
I once tried to rebuild the complete switch assembly because the frame broke and a replacement part costs about 50€. Disclaimer: I never actually rebuild the switch assembly, as I glued everthing together using some superglue. So the information given here are just my preliminary research until I figured out how to glue everything back together!
The Switch block can be easily reverse engineered.
Below is a graphic of the terminals seen from the front:
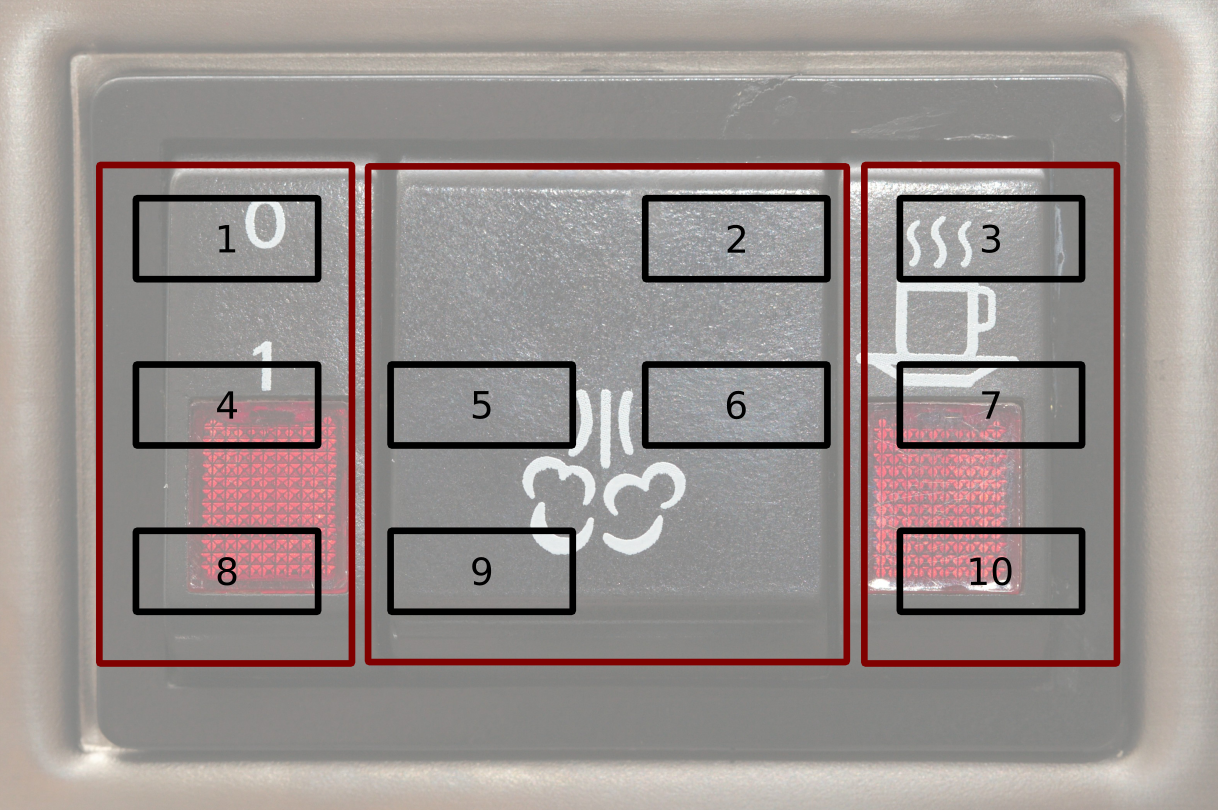
You will need 3 switches for that. The important thing is, that on the third switch, the lamp is always connected!

The first one is a SPST with an included lamp. The steam switch is a DPDT and the brewing switch is a SPST with a separate controlable lamp. You could also use a single SPST switch without a lamp and make the lamp a separate item (there are switch like lamps by the way. They have the same form factor as a switch, but only contain a single lamp). As I have a PID, which indicates the heating by itself, I would not need the lamp.
I looked into the "arcolectric 1500, 1550 and 5500 Series" (see Datasheet at Farnell). It looks like this company is the only one which sells a wide variety of switches with the same shape and design for different style of switches. I looked carefully through the catalogue of many companies and they only produce certain switches.
Unfortunately, not all switch types are available. For example the switch type with a unswitched lamp is not orderable. That means for the brewing switch, the 5508 type switch has to be replaced by a 1500 type switch which is not lid.
The "L" shape switches seems to be available for both the 1500 and 5500 series. When looking at RS-online, we can choose these three switches:
- C1560ALAAB for Power (!!! 12VDC LED !!! - better use also C1520ALAAE)
- Alternative: C5503PLNAB for Power (230V Neon)
- C5503PLLAA for Steam
- C1520ALAAE for Brew (Optimal would be C5508ALxxx)
However, the C1560ALAAB is a 12VDC LED switch! That means, the best option is to use a C1520ALAAE for the Power as well and have the neon lamps externally, or use a 230VAC to LED conversion circuit.
Note, that I provide this information without a warrant. Please check and double check what the shop sells you - I already found a few cases were the description was wrong! If you are unsure, contact the shop to confirm the part numbers. It is also a good idea to ask Bulgin for help on the part numbers, because they know which part number has which feature. Unfortunately, you can not see this from the catalogue they supply.
Top Plate
For prototyping I created a replica of the top plate from plywood. Therefore I needed to measure it beforehand. Measurements of the radii are a little bit tricky, and even though I have some radius gauges, I had to print several versions, stick them on thick paper and test the dimensions. It might be the case, that the housing is a little bit different for each model, thus this drawing might not fit yours!
So here is a drawing of the dimensions:
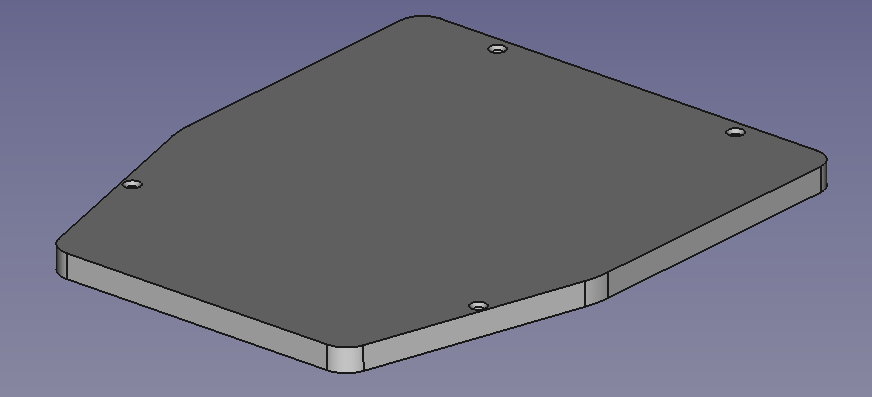
For explaination: there are (at least on my machine) four mounting points for screws, where only two are used in the orignal version. They fit DIN7983/ISO7051 3.5mm sheet metal screws (note: some of the older DIN7983 screws are 80° countersunk!)
The water Inlet is about 50 by 50mm from the far right corner and is about 16mm in diameter.